The Endgame Is Not Just Grind
Most Gambonanza games end before the 6x6 board. But what separates good players from great ones is how they close out games when the board gets big. The Complete Walkthrough breaks this down in detail. The Rook & Bishop Guide breaks this down in detail.
Verdict
The biggest threat in the endgame isn’t the opponent’s piece density-it’s your own panic. 90% of comebacks don’t come from outplaying your opponent. They come from your opponent making more endgame mistakes than you. Difficulty Rating: -knowing when to push and when to wait is the real skill.
1. Bishop Deadlock-Breaking the Same-Color Trap
The Problem
When the board reaches 6x6+ and both sides are left with same-color Bishops, you get a stalemate. Neither can eat the other.
Solutions
Method A: Rook Force Push
- Rook dominates same-color Bishops-it attacks on different colored squares
- Place your Rook on the opposite color of their Bishop and push
Method B: Pawn Sacrifice for Space
- Feed 2+ Pawns consecutively, forcing their Bishop off key squares
- Rhythm: Pawn-Pawn-Bishop follows to control the flank
Method C: Queen Cleanup
- Queen ignores color restrictions-she eats Bishops regardless of square color
- Save Gambit skills for Queen protection and repositioning
Bishop Deadlock Misconception
Bishop deadlock looks like a battle of who blinks first-but that thinking loses. Wrong. The right solution is introducing a third color-Rook (colorless) or Queen (full-spectrum). Trying to Bishop-vs-Bishop your way out will drag the game forever.
2. King Hunting-The Three-Turn Window
When a King is exposed (fewer than 3 friendly pieces around it), you get exactly 3 turns to execute.
Hunt Rhythm
| Turn | Action | Goal |
|---|---|---|
| T0 (Exposed) | Identify the killing pattern | Confirm all adjacent squares are empty |
| T1 | Double approach | Two strong pieces close in on King |
| T2 | Gambit + Execute | Use mobility Gambits to block escape routes |
| T3 (Window closes) | Finish or retreat | If King gets protected, retreat immediately |
Common Mistake
Once the King gets protected (opponent deploys support pieces), retreat immediately. Do not keep fighting. Most endgame throws happen because players keep attacking after the kill window closes.
3. Relic Timing-When to Open What
| Phase | Open | Save |
|---|---|---|
| Opening (3x3) | Economy relics | Combat relics for mid-game |
| Mid-game (4x4~5x5) | Gambit slot expanders | Finisher relics for endgame |
| Endgame (6x6+) | All damage-boosting relics | Economy relics are useless now |
Late Economy relics should have been sold at peak value around 5x5 to fund combat relic swaps.
4. Pawn Promotion Trap
When a Pawn promotes, it ceases to be a Pawn. This means:
- Pawn Gambit buffs disappear immediately
- Relics that trigger “when no Pawns remain” now function-but you’ve lost your Pawn engine
- Counter: If you identify an opponent relying on Pawn Gambit, force their Pawn to promote by dangling a bait piece-you’ll disable their core engine
Pawn Trap in Action
Spot an opponent running Pawn Gambit? Drop a seemingly free Rook on their promotion path. Greed takes over, their Pawn eats and promotes-and suddenly their Gambit engine is gone. This is the “Sacrifice Rook to Break Gambit” technique.
5. Comeback Checklist
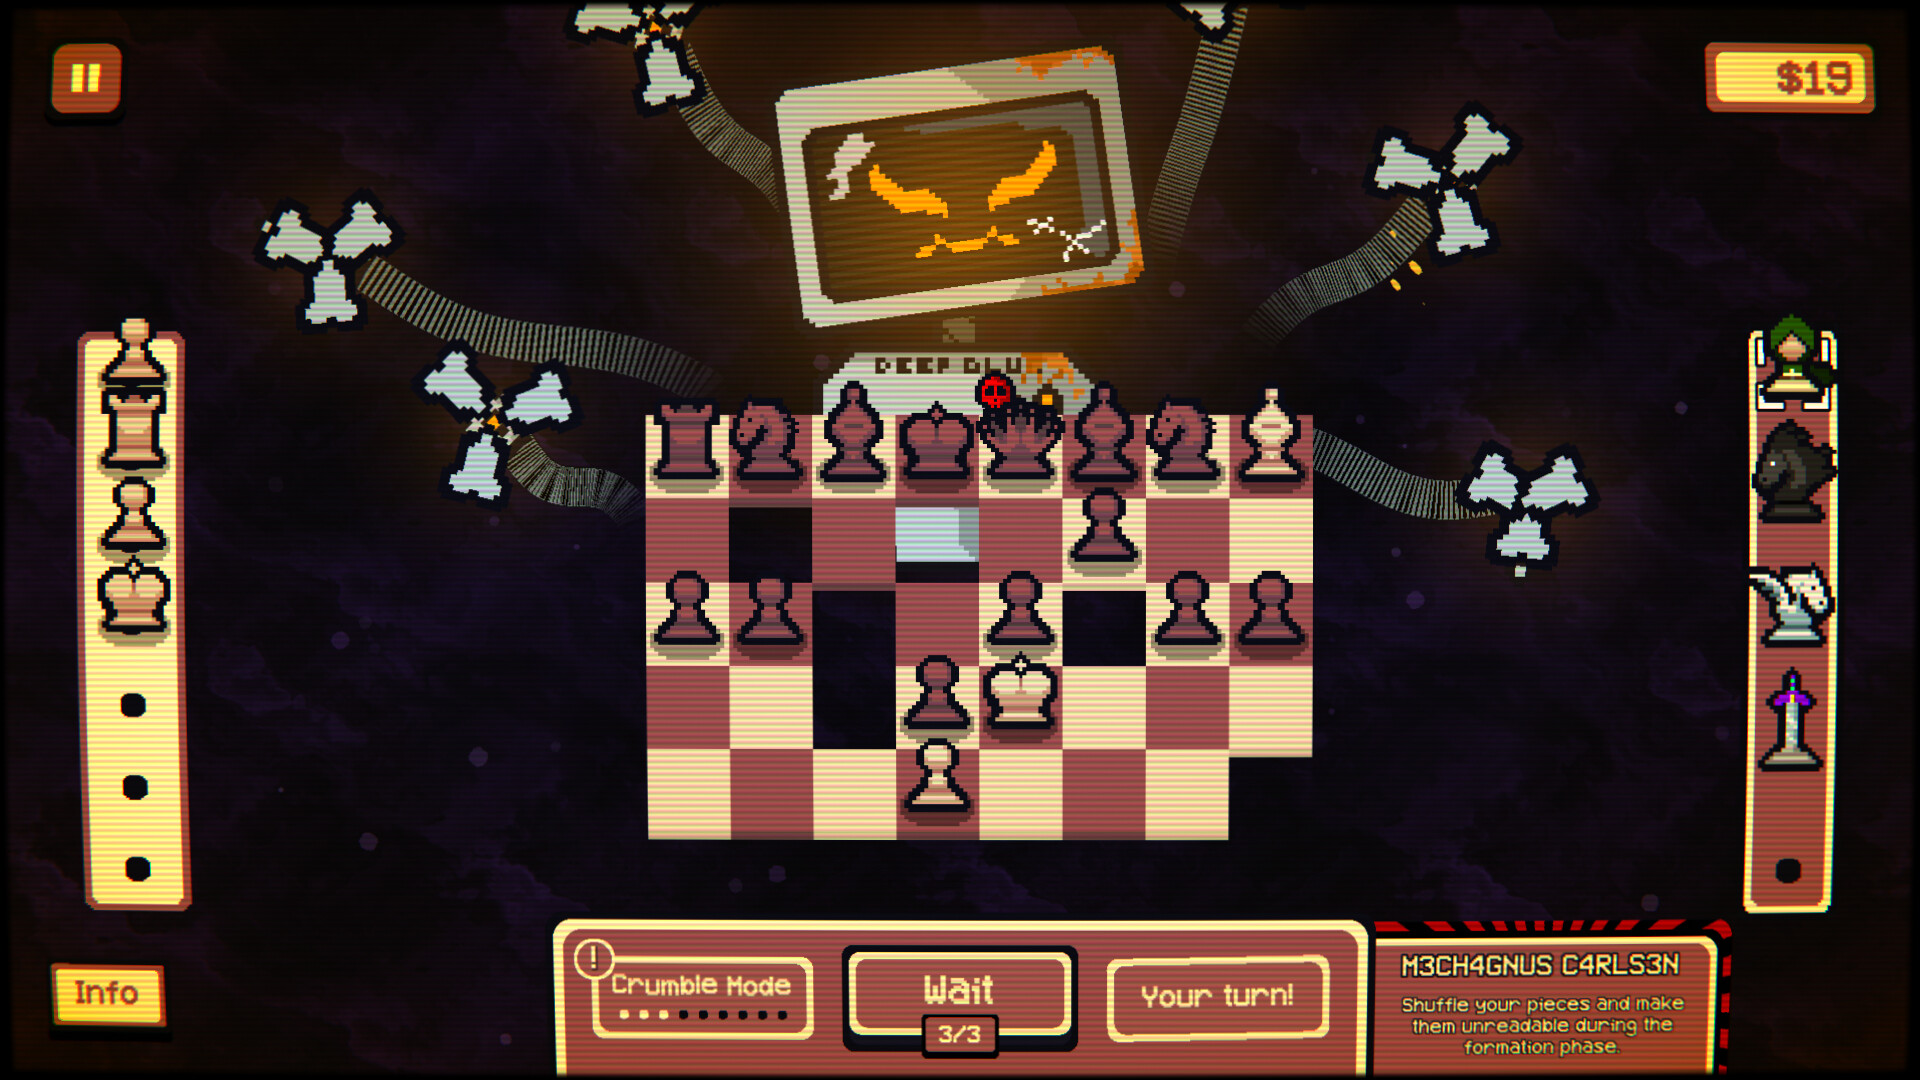 Preparation screen-inspect your relic and Gambit configuration before committing to the endgame
When behind, check in this order:
- How many of your pieces are still on the board?
- How many relics remain unopened?
- Are your Gambit slots full?
- Has the opponent’s King been exposed in the last 3 turns?
- Is there a same-color Bishop deadlock you can exploit?
Most comebacks aren’t about overpowering your opponent. They’re about checking this list and finding the crack.
Sources & Updates
I’ve tested these strategies across multiple runs of my own. Gambonanza may change with patches-always double-check in-game. Join the discussion on Steam.