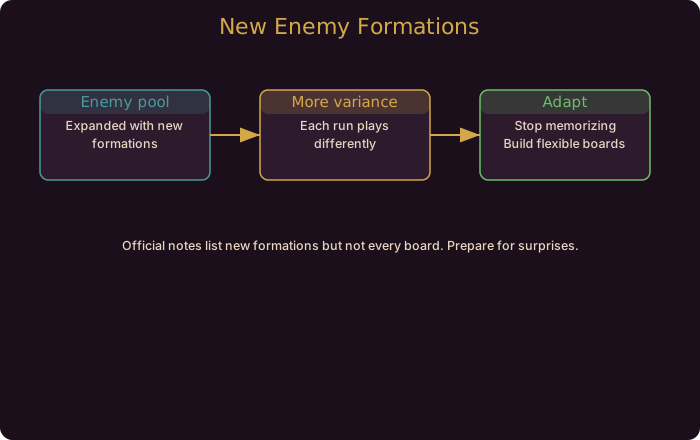
v1.4.0 dropped several new enemy formations into the enemy pool to increase run variety. The problem: the developers did not enumerate them. No patch note lists the piece counts, formations, or names. That means the community cannot publish a definitive wave catalog, and neither can this guide.
What you can do is build a flexible, adaptive playstyle that does not rely on memorizing a specific enemy lineup. That is what this guide covers.
The core principle is simple: stop rehearsing openers against a fixed wave list, and start reading the board every run. Here is how to do that in practice.
Why the Old Wave-List Approach Is Broken Now
Before v1.4.0, the enemy pool was known. Players could look up “Wave 3 is always X pieces in Y formation” and pre-load a counter build. v1.4.0 breaks that workflow by injecting genuine variety. The new formations are not cosmetic flavor text; they alter early pressure patterns, economy demands, and board-control requirements in ways that a memorized opener cannot handle.
The direct consequence: a build that hard-counters the old Wave 3 might walk into the new Wave 3 blind and get punished. This is especially true if you were leaning on a narrow economy curve (say, banking hard on one piece type) and the new wave runs a formation that punishes that specific shape.
The Three-Pillar Adaptation Framework
Instead of chasing a wave catalog that does not exist, anchor your early game on three principles that hold regardless of which formation shows up.
1. Board Control First
Enemies in tight formations apply pressure fast. The single most reliable counter to any new formation is placing pieces that control center tiles and limit enemy mobility. A Knight on a key square, a Bishop covering diagonals, or a Rook pinning a file all do this without requiring you to know the exact layout ahead of time. Build pieces that threaten multiple directions, not just the direction you think the enemy will approach from.
2. Economy Buffer
Every new wave raises the chance that early-stage costs spike unexpectedly. Maybe the formation demands faster piece upgrades, or maybe it puts pressure on tiles you were planning to develop later. Keep a +$3 to +$5 economy buffer in the first two stages. Do not dump all your gold into a single piece development until you have seen what you are dealing with.
3. Piece Diversity
A board with two piece types is easy to counter. A board with three or more piece types has more angles. If the new wave has a specific weakness, a diverse board is more likely to have a piece that exploits it without you needing to know it in advance.
Re-Scouting: What That Looks Like in a Run
“Read the board” is easy to say. Here is the concrete process:
- After the first enemy wave resolves, pause and assess: which tiles were hardest to defend? Which pieces absorbed the most pressure?
- After the second wave, check whether your economy is on track. If you are down more than two pieces compared to your usual baseline, the new formation is pushing harder than expected.
- Before committing to a major build pivot, glance at your current piece set and ask: “Would this hold if the next wave was a composition I have never seen?” If the answer is no, shore up your weakest axis before investing further.
This is not a dramatic shift from good play. It is the same discipline that top players already apply, but the penalty for skipping it is now higher because the wave list is no longer predictable.
What the v1.4.0 Meta Forces You to Drop
Two habits that were safe before v1.4.0 are now liabilities:
Pick-one opener builds. Committing your entire early strategy to one piece or one tile synergy on Stage 1-2 works when you know roughly what Wave 3 looks like. With new formations in the pool, a wave that punishes your specific opener can show up before you have a chance to pivot.
Rush-to-economy builds. If you were leaning on a greedy economy curve that skips early combat pieces, the new waves may apply too much pressure before your payoff lands. Balance economy and board presence from Stage 1.
Supporting Systems in v1.4.0 That Help
A few existing v1.4.0 features make adaptation easier even without knowing the new wave list:
- Skip Animations (Extra settings): gives you more time to assess the board between waves.
- Algebraic notation toggle: helps you track tile positions more precisely when analyzing what went wrong in a wave.
- The Graveyard (PAWN): if you are on PAWN difficulty, the buyback system gives you a safety valve if a new formation catches you off guard and you lose a key piece early.
The Graveyard does not apply on higher difficulties, which is intentional. At KNIGHT and above, the new wave variety is fully in effect with no safety net, which is where adaptive play becomes a genuine skill differentiator rather than a nice-to-have.
What to Expect Going Forward
Until the community collectively maps the new formations through run data and shared logs, no guide will have a complete wave catalog. The Gambonanza Discord and wiki are the fastest places to collect that data. Watch those channels for pattern reports from other players running v1.4.0.
Until then, the players who adapt instead of memorize will have the edge.
Community Resources
- Official Gambonanza Steam News{target="_blank" rel=“noopener noreferrer”}
- Gambonanza Wiki: Gambits{target="_blank" rel=“noopener noreferrer”}
Guide updated for Gambonanza v1.4.0 (released August 2026). Wave data sourced from the official Steam news post. Specific new formations were not enumerated by the developer and have not been independently verified.